

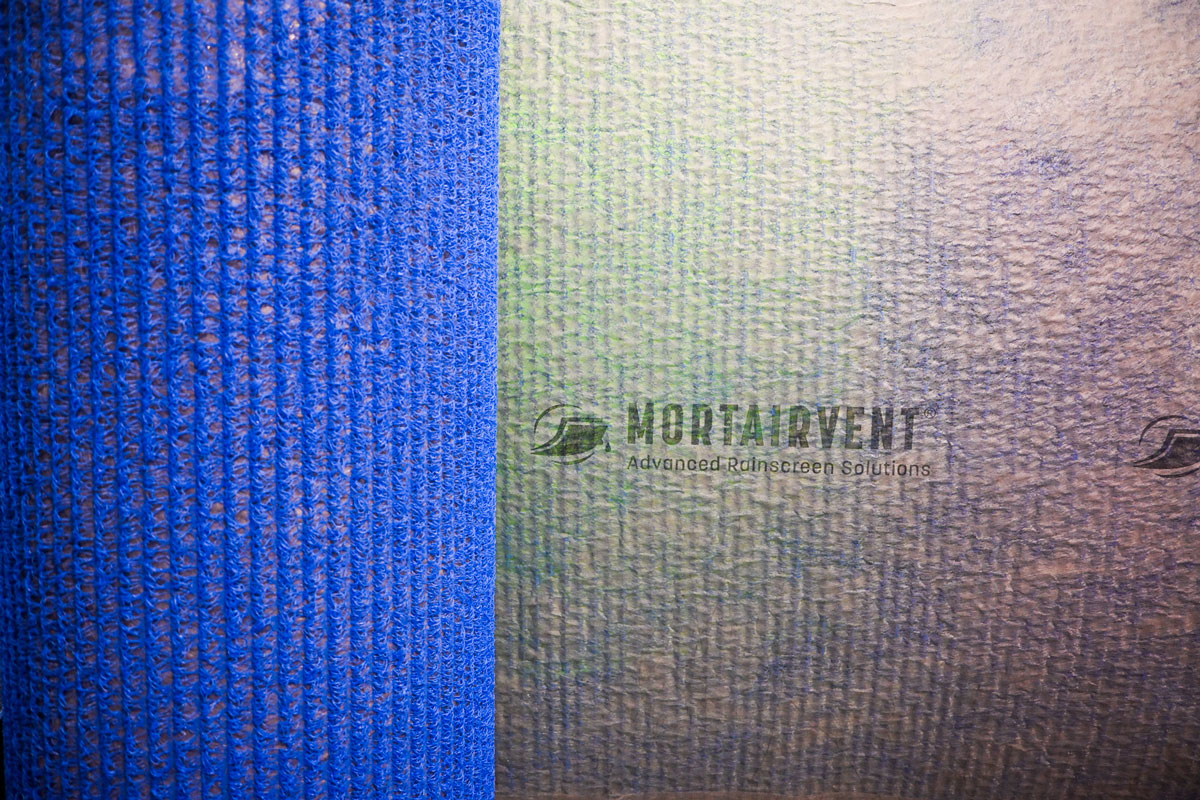

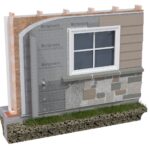

When building exterior walls with stone, stucco, brick, cedar, EIFS, or fiber cement siding, it is important to use an effective rain-screen system that will provide a means for drainage and ventilation. Moisture will find its way into these wall systems by way of cracked mortar joints, gaps or cracks in the surface of the material. Natural absorption of the wood or fiber cement also needs to be considered. Once this moisture penetrates the outer surface of the wall, it becomes trapped in the wall system with no way to escape, creating the perfect environment for toxic mold growth and possible structural failure. Mortairvent® is a drainage and ventilation system specifically designed for use with most exterior siding materials.
Benefits
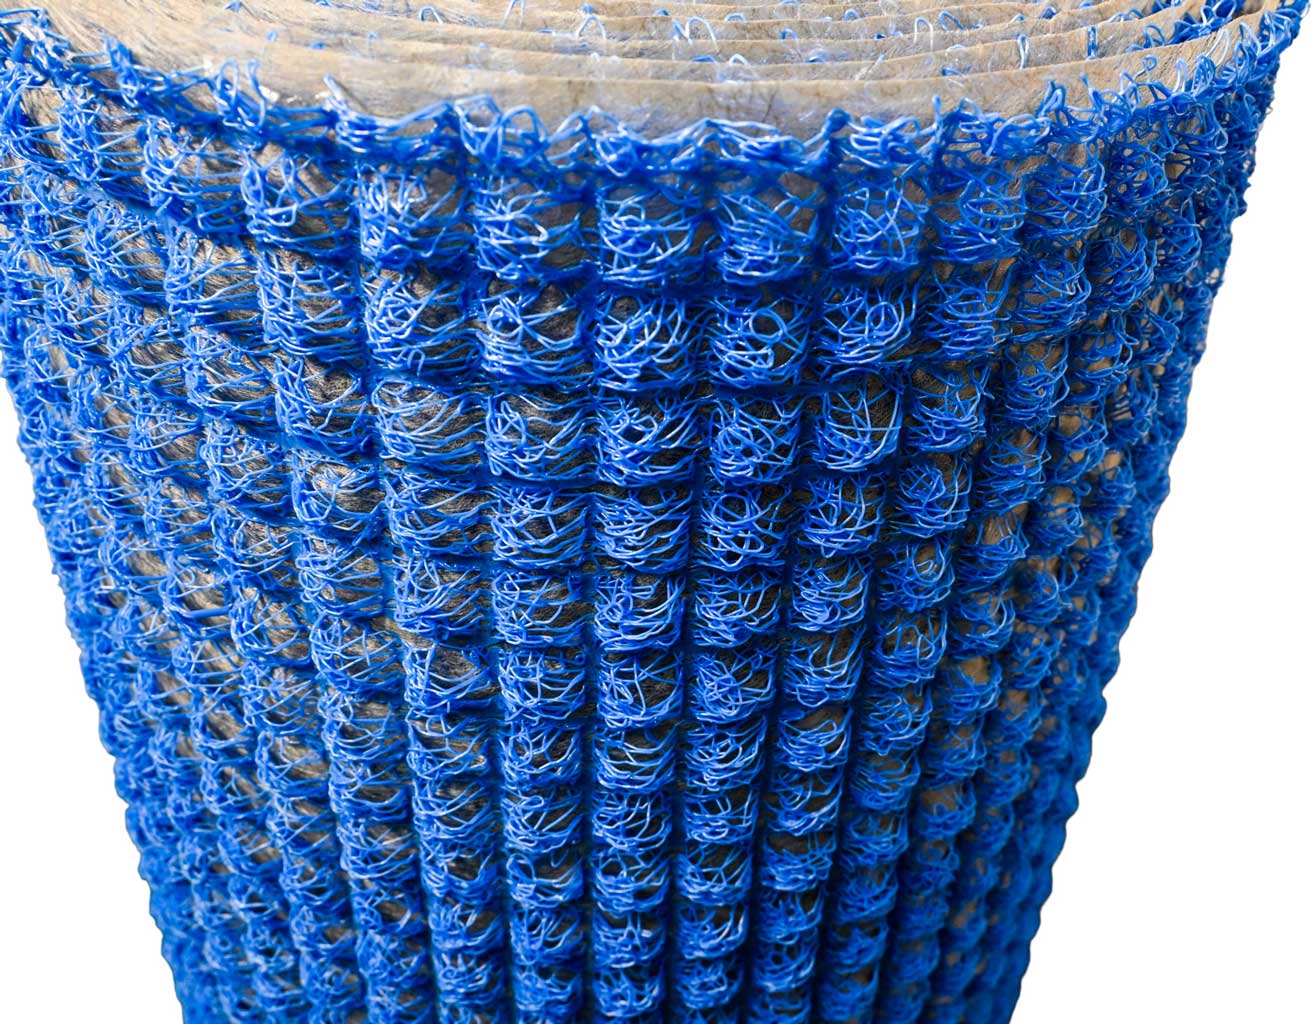
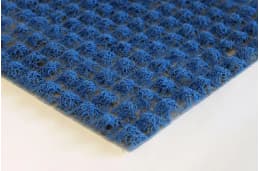
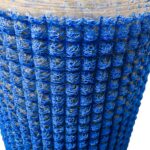
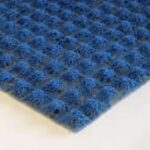
- 95% open design creates a continuous capillary break and channel for moisture to drain and accelerates the drying of the exterior cladding.
- Durable polymer material is resistant to most known corrosive chemicals and does not provide a food source for mold or mildew.
- Minimizes staining, peeling, and blistering of exterior finishes.
- Lightweight and easy to handle.
- Easier and more cost effective than traditional wood furring strip methods.
- 2-ply design features a backer fabric that improves the tensile and compressive strength properties of the rainscreen. The fabric also serves to deflect mortar when used with stucco or masonry veneer siding.
- Made from recycled materials qualifying for LEED credits.
- Meets the National Building Code of Canada.
- Backed by our 25-year warranty.
- Tested to ASTM E2925 and meets the 2021 & 2024 IRC Code requirement.
For Mortairvent® Rainscreen LEED Sheet - Call 800-252-2306
![]()
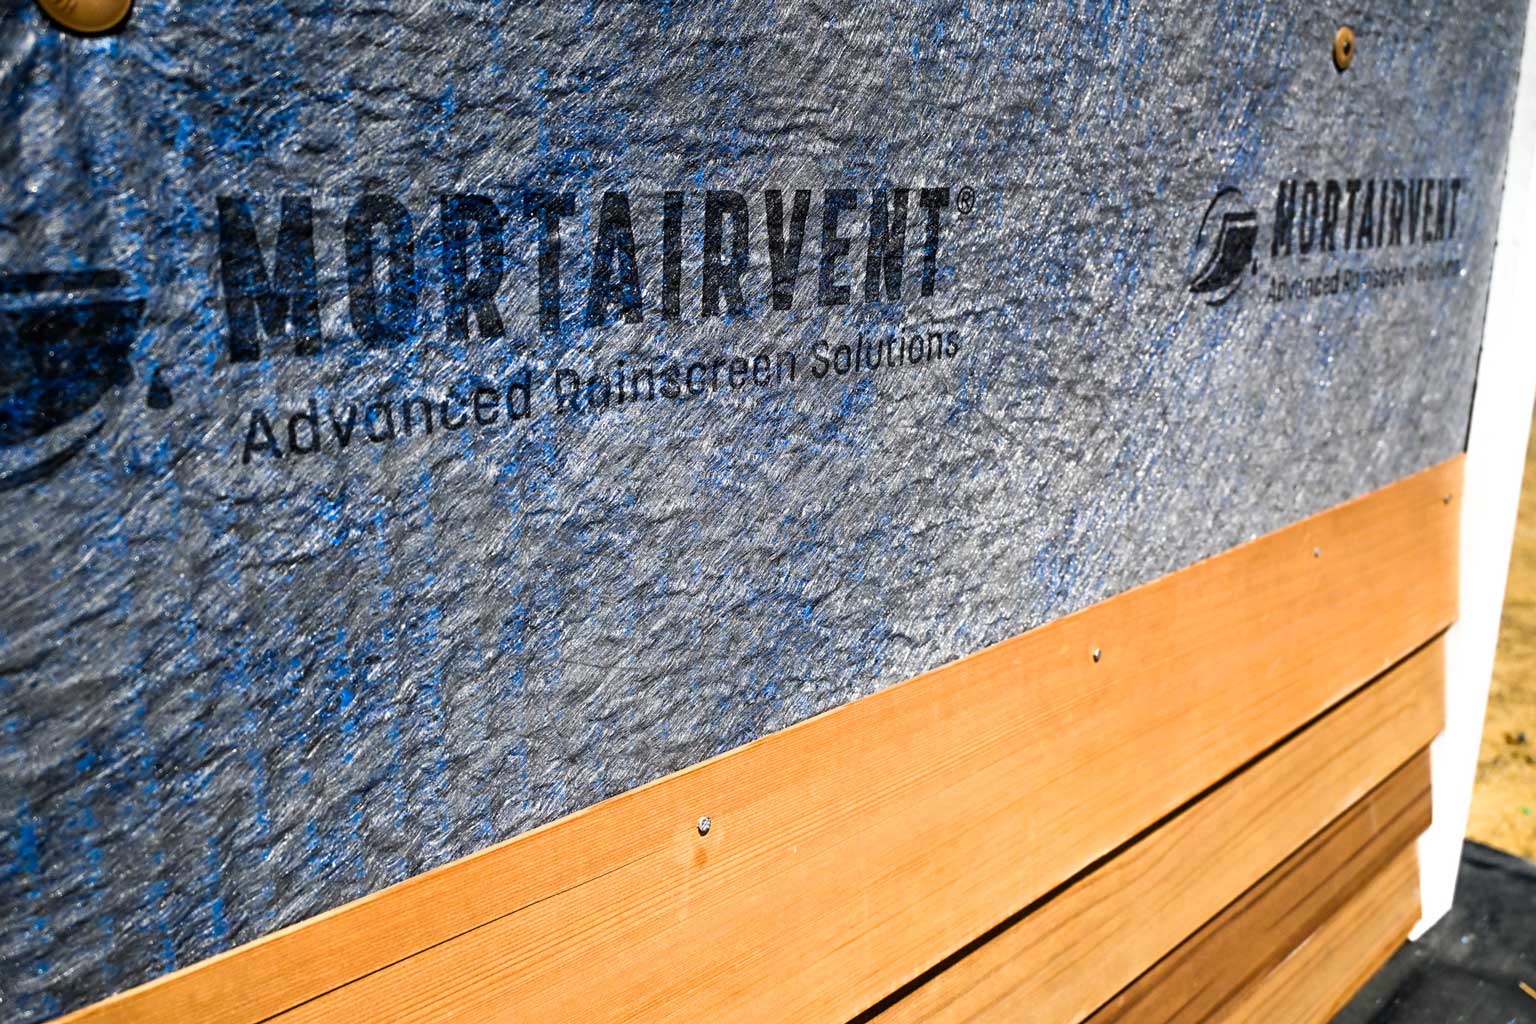
Apply a weather resistant barrier over sidewall sheathing. Note: some regions may require two layers of weather resistant barrier. Check local codes for more information.
Install Mortairvent® after windows and doors have been properly installed and flashed
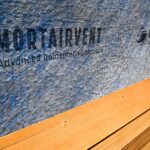
Starting at the base of the wall, unroll Mortairvent® from right to left with the fabric flap on the bottom. The blue geomatrix should be facing the weather resistant barrier and the filter fabric facing the exterior of the building.
Staple or nail every three square feet.
On the bottom and top course only, fold the fabric flap and tuck it between the (blue) polymer matrix and the weather resistant barrier to create an insect screen. The top course roll will need to be inverted to achieve this.
On subsequent courses, butt the blue polymer material together without overlapping. Pull the fabric flap over the previous course (shingle style) and staple.
Apply lath, scratch coat, and stucco or masonry veneer siding over Mortairvent® using recommended fasteners and spacing.
| Rainscreen Product | Thickness | Roll Size | Sq. Ft. Per Roll | Rolls Per Pallet | Unit of Measure |
|---|---|---|---|---|---|
| Mortairvent® 201 | .125 in. (3 mm) | 39 in. x 61.5 ft | 200 | 24 | Square Feet |
| Mortairvent® 202 | .25 in. (6 mm) | 39 in. x 61.5 ft | 200 | 18 | Square Feet |
| Mortairvent® 203 | .40 in. (10 mm) | 39 in. x 40 ft | 130 | 18 | Square Feet |
Brochures & Articles
- Mortairvent® Brochure
- Allowing Moisture to Drain, Not Remain: How Using Mortairvent® Can Protect Your Wall, and Your Home
- Construction Specifier Article – Draining the Rain: Advancement in Engineered Rainscreen Walls
- Construction Canada Rainscreen – Understanding Engineered Rainscreens
- Construction Canada December 2017 – Is a Drainable Wrap Enough?
- Engineered Rainscreen Installation Guide
Code Approvals
Renderings
- Mortairvent® Stone Veneer Detail – Top of Window
- Mortairvent® Stone Veneer Detail – Top of Wall
- Mortairvent® Stone Veneer Detail – Enlarged
- Mortairvent® Stone Veneer Detail – Fabric Lap
- Mortairvent® Stone Veneer Detail – Isometric
- Mortairvent® Stone Veneer Detail – Bottom Wall
- Mortairvent® Stucco Detail – Top of Window
- Mortairvent® Stucco Detail – Top of Wall
- Mortairvent® Stucco Detail – Enlarged
- Mortairvent® Stucco Detail – Fabric Lap
- Mortairvent® Stucco Detail – Isometric
- Mortairvent® Stucco Detail – ICF
- Mortairvent® Stucco Detail – Bottom of Wall
- Mortairvent® Wood Siding Detail – Top of Wall
- Mortairvent® Wood Siding Detail – Bottom of Wall
- Mortairvent® Flanged Window
- Mortairvent® Flanged Window Jam
- Mortairvent® Flanged Window Sill
- Mortairvent® Non-Flanged Window
- Mortairvent® Non-Flanged Window 2
- Mortairvent® Non-Flanged Window Jam
- Mortairvent® Non-Flanged Window Jam 2
- Mortairvent® Non-Flanged Window Sill
- Mortairvent® Non-Flanged Window Sill 2
- Mortairvent® Detail
- Mortairvent® Stone Detail
- Mortairvent® Stucco Assembly With Veneer Vent Top and Bottom
- Mortairvent® Stucco Rainscreen Behind Rigid Insulation at Bottom of Wall
- Mortairvent® Stucco Rainscreen Wall Assembly Detail Bottom of Wall
- Mortairvent® Stucco Rainscreen Wall Assembly Detail with Kickout Flashing
- Mortairvent® Stucco Rainscreen Wall Assembly With Mortairvent and Weep Screed 8
- Mortairvent® Stucco Rainscreen Wall Assembly with Outboard Insulation and Kickout Flashing
- Mortairvent® Stucco Top of Wall Veneer Vent Detail With Sealant Backer Rod
- Mortairvent® Stucco Top of Wall with Rigid Insulation
- Mortairvent® Stucco and Cement Cladding Transition 5
- Mortairvent® Stucco and Cement Cladding Transition 6
- Mortairvent® Stucco and Cement Cladding Transition 7
- Mortairvent® Stucco and Fiber Cement no Outboard Insulation
- Mortairvent® Stucco to Fiber Cement with Outboard Insulation
- Mortairvent® Stucco to Fiber Cement with Rigid Outboard Insulation
- Mortairvent® Stucco to Fiber Cement with Watairvent®
- Mortairvent® Stucco with J-Channel, Kickout Flashing
- Mortairvent® Stucco with J-Channel, Kickout Flashing, & Outboard Insulation
- Mortairvent® Stucco with J-Channel, Kickout Flashing, and Outboard Rigid Insulation
- Mortairvent® Wood Siding