
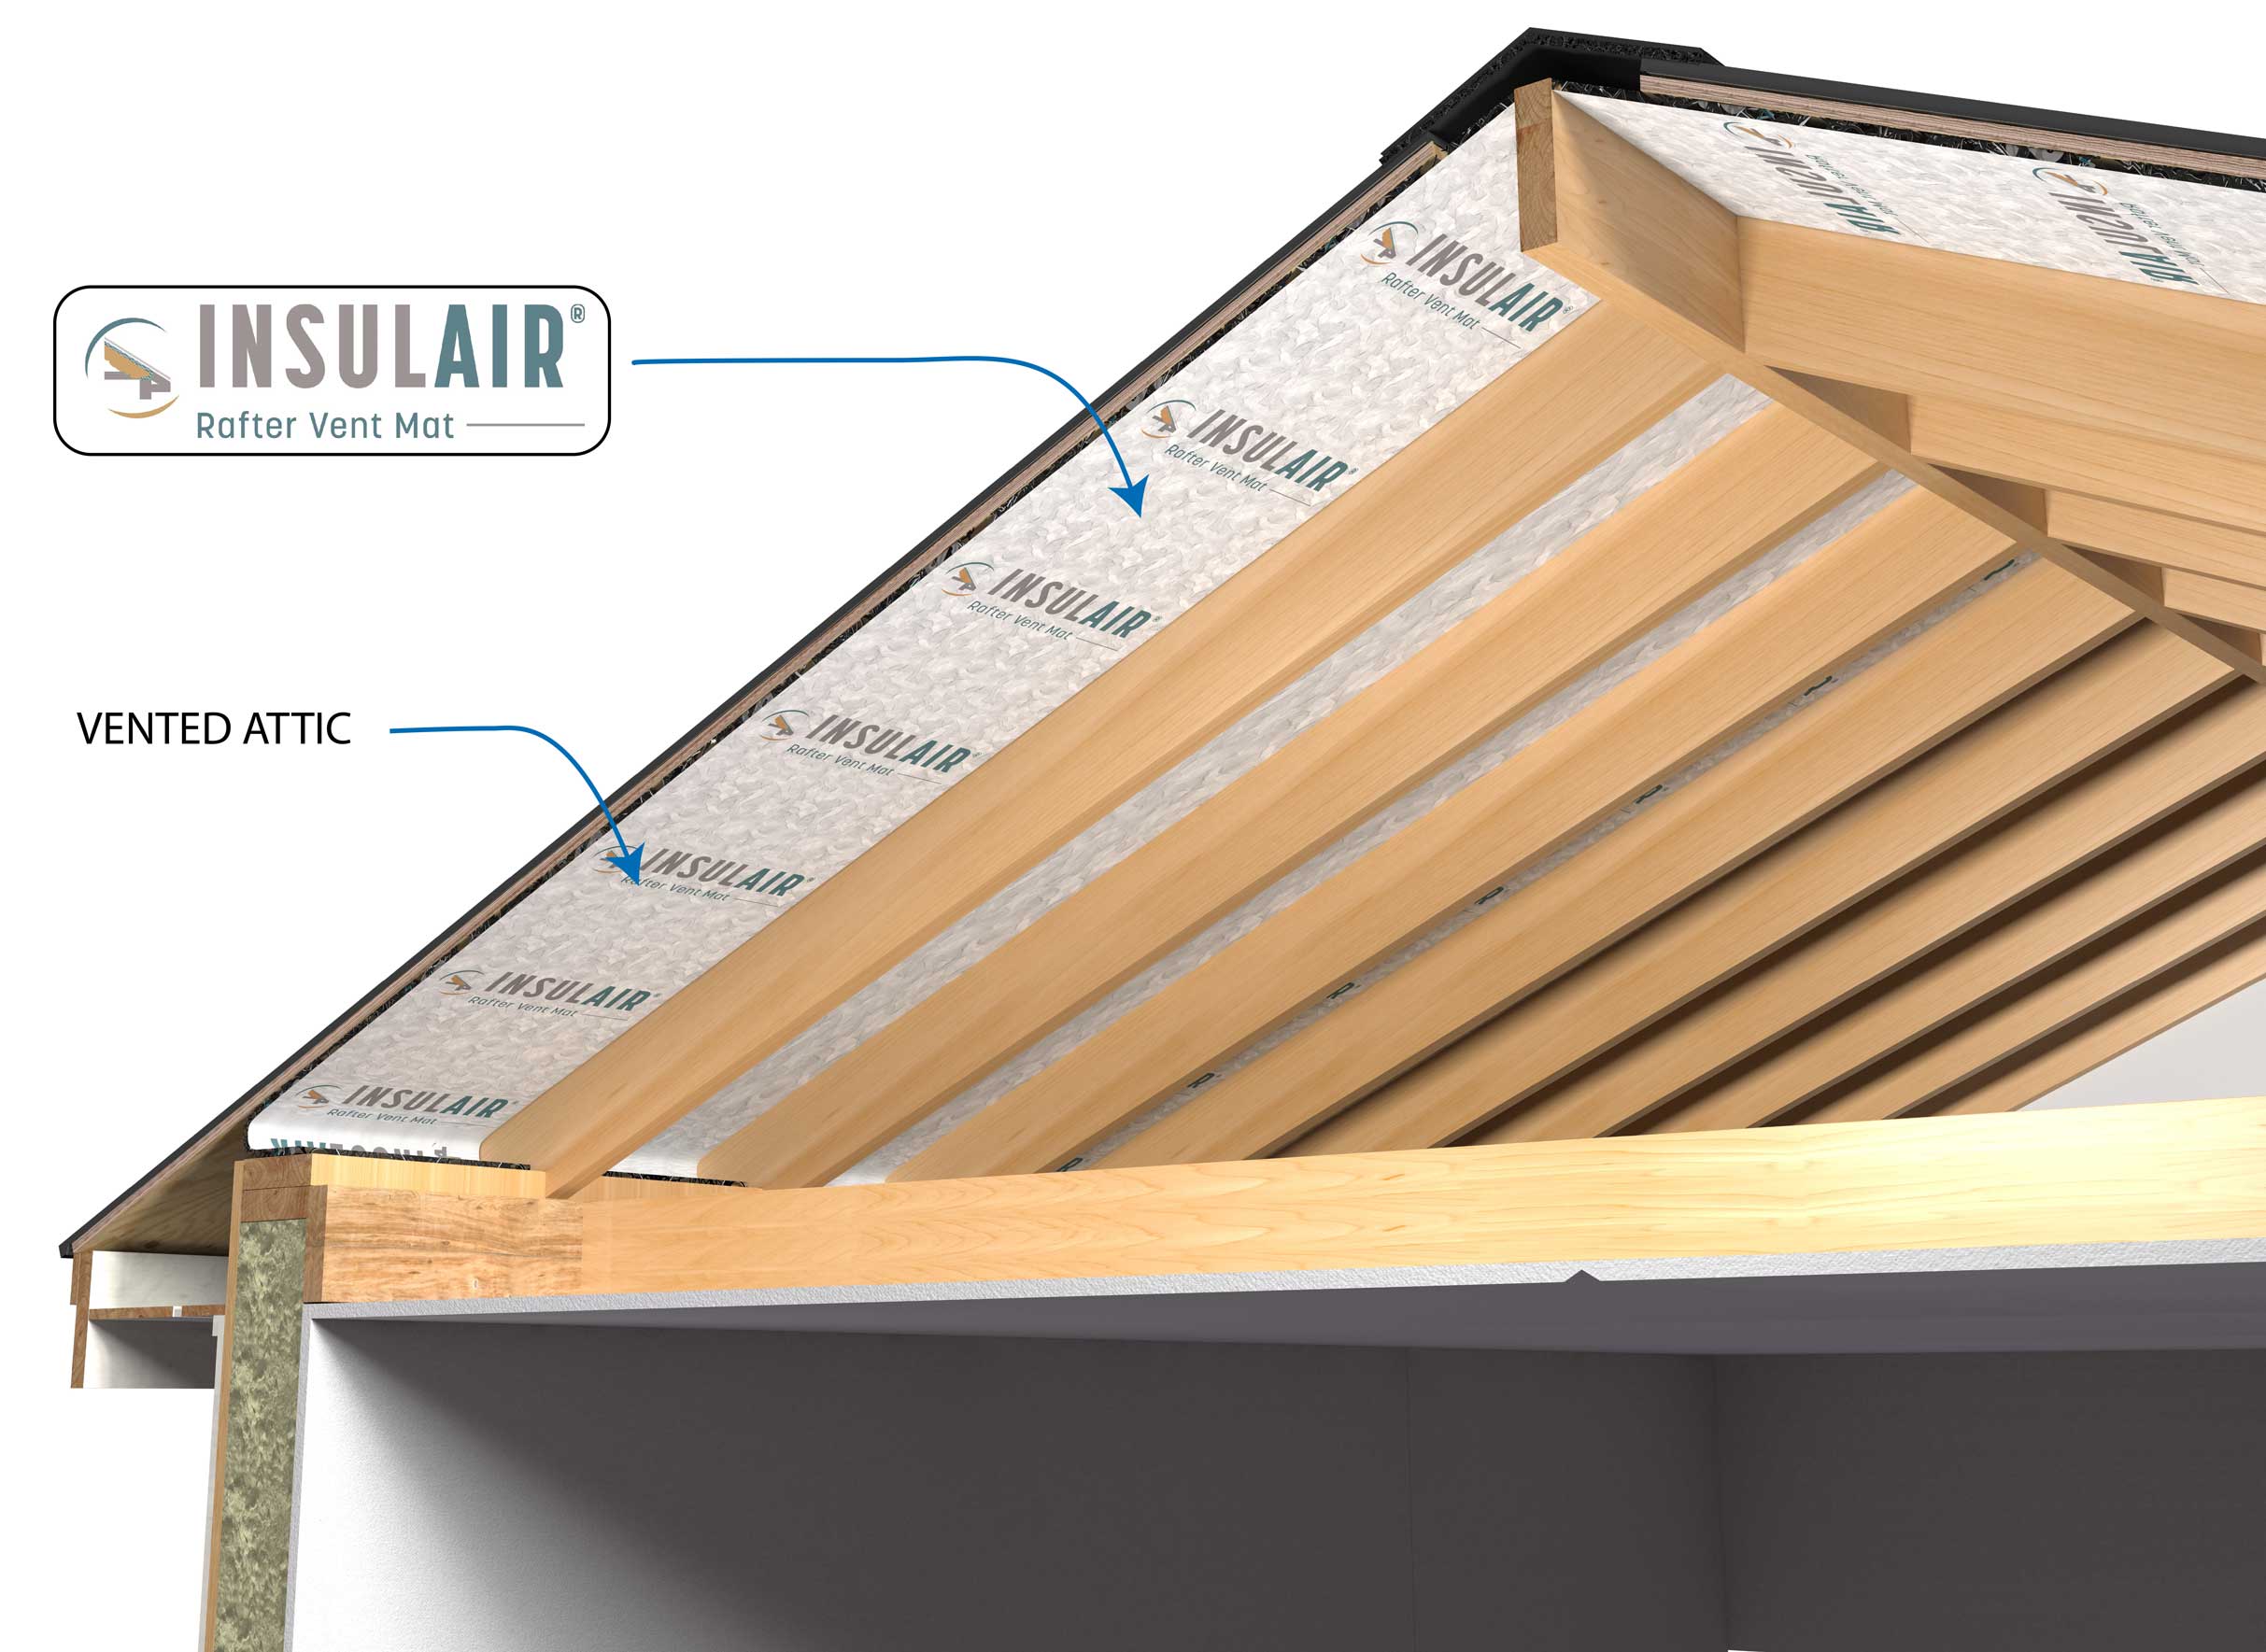

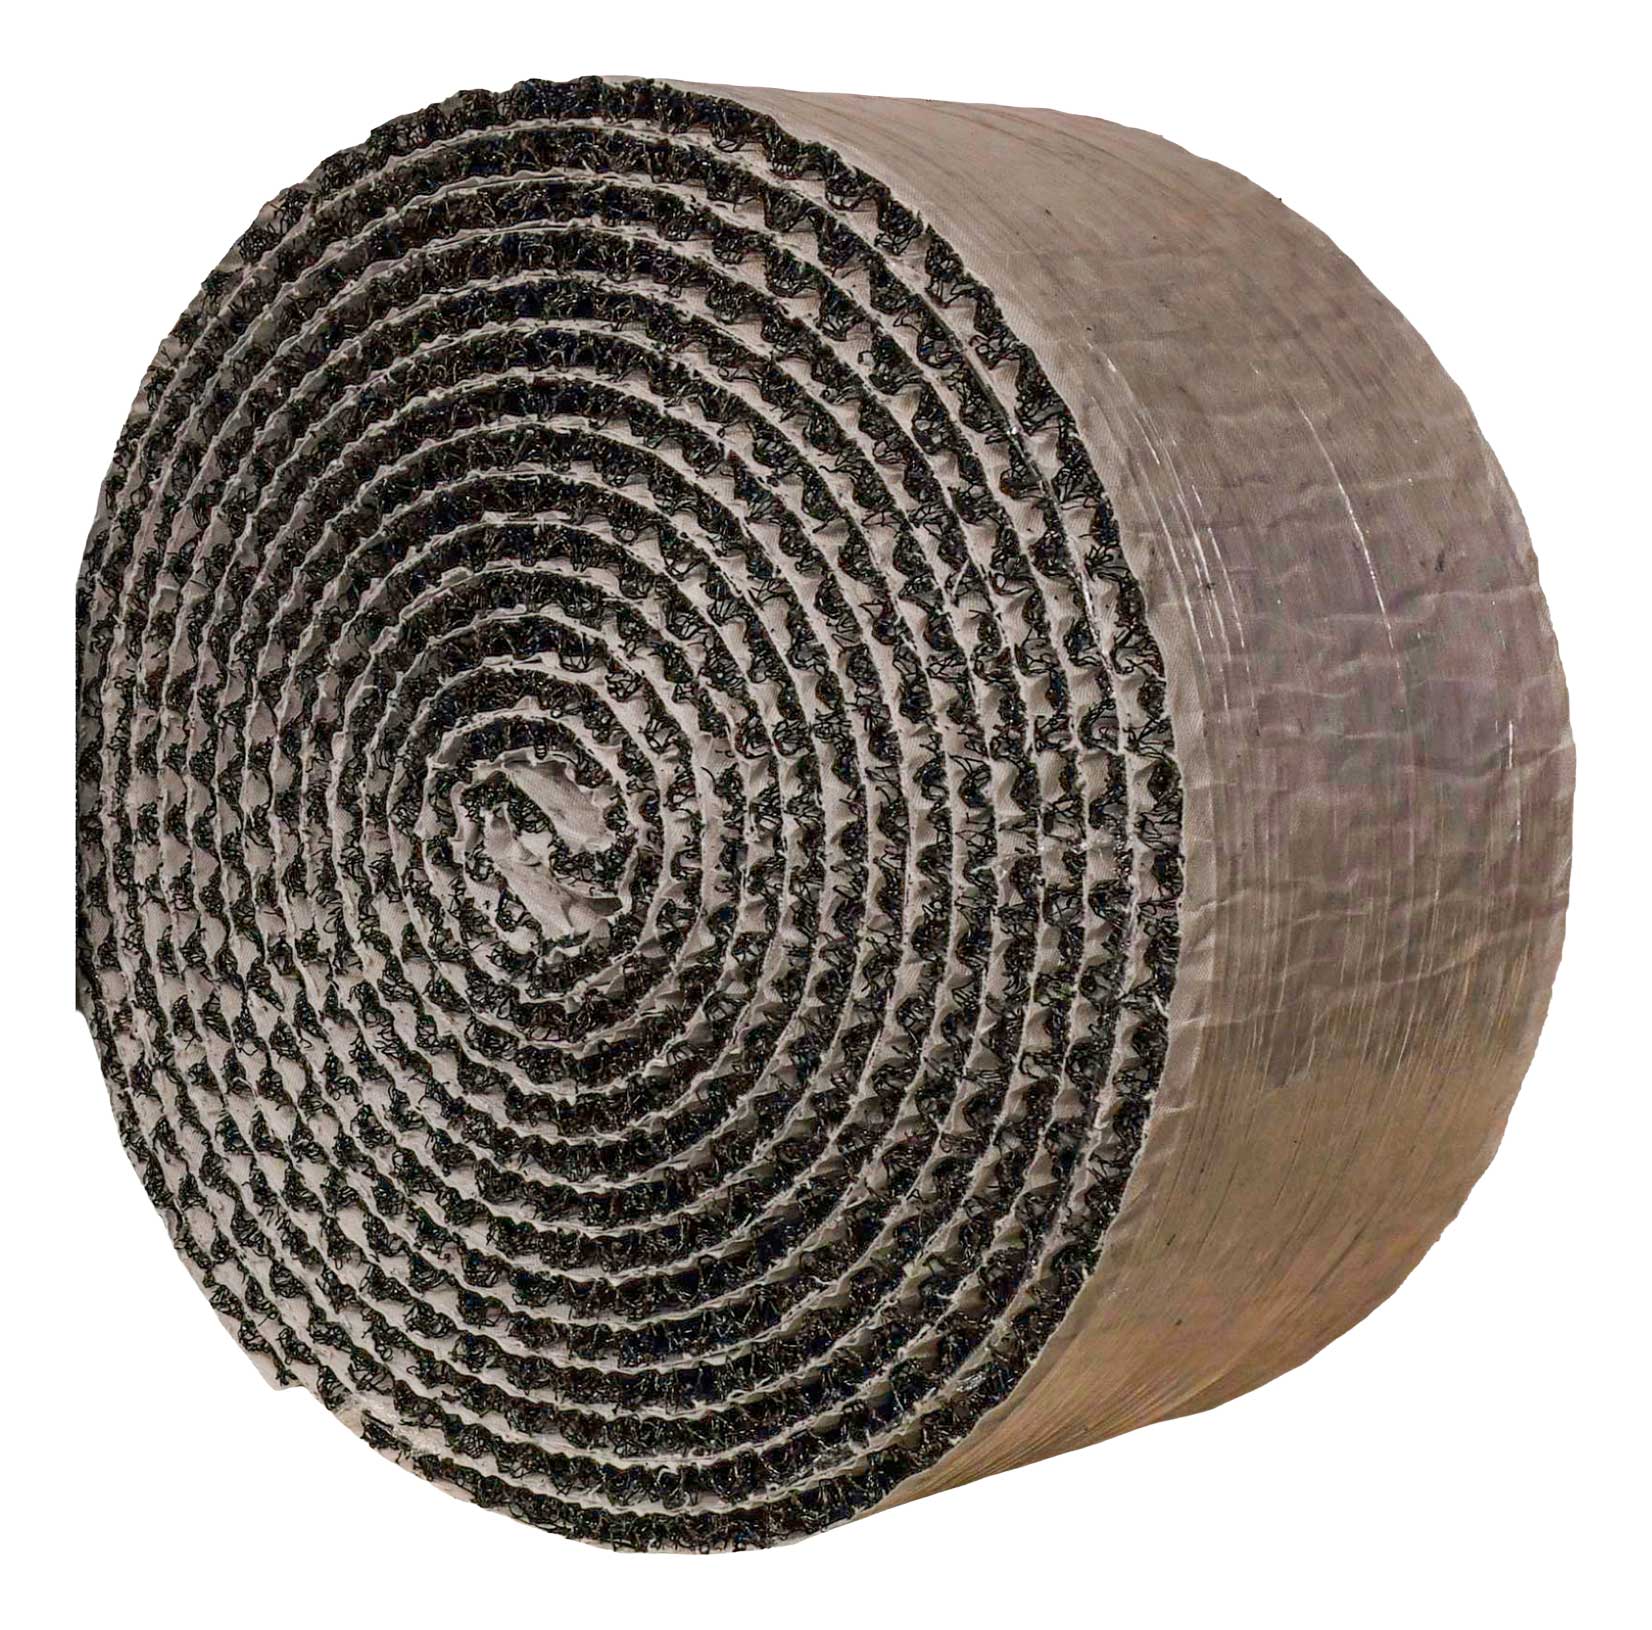
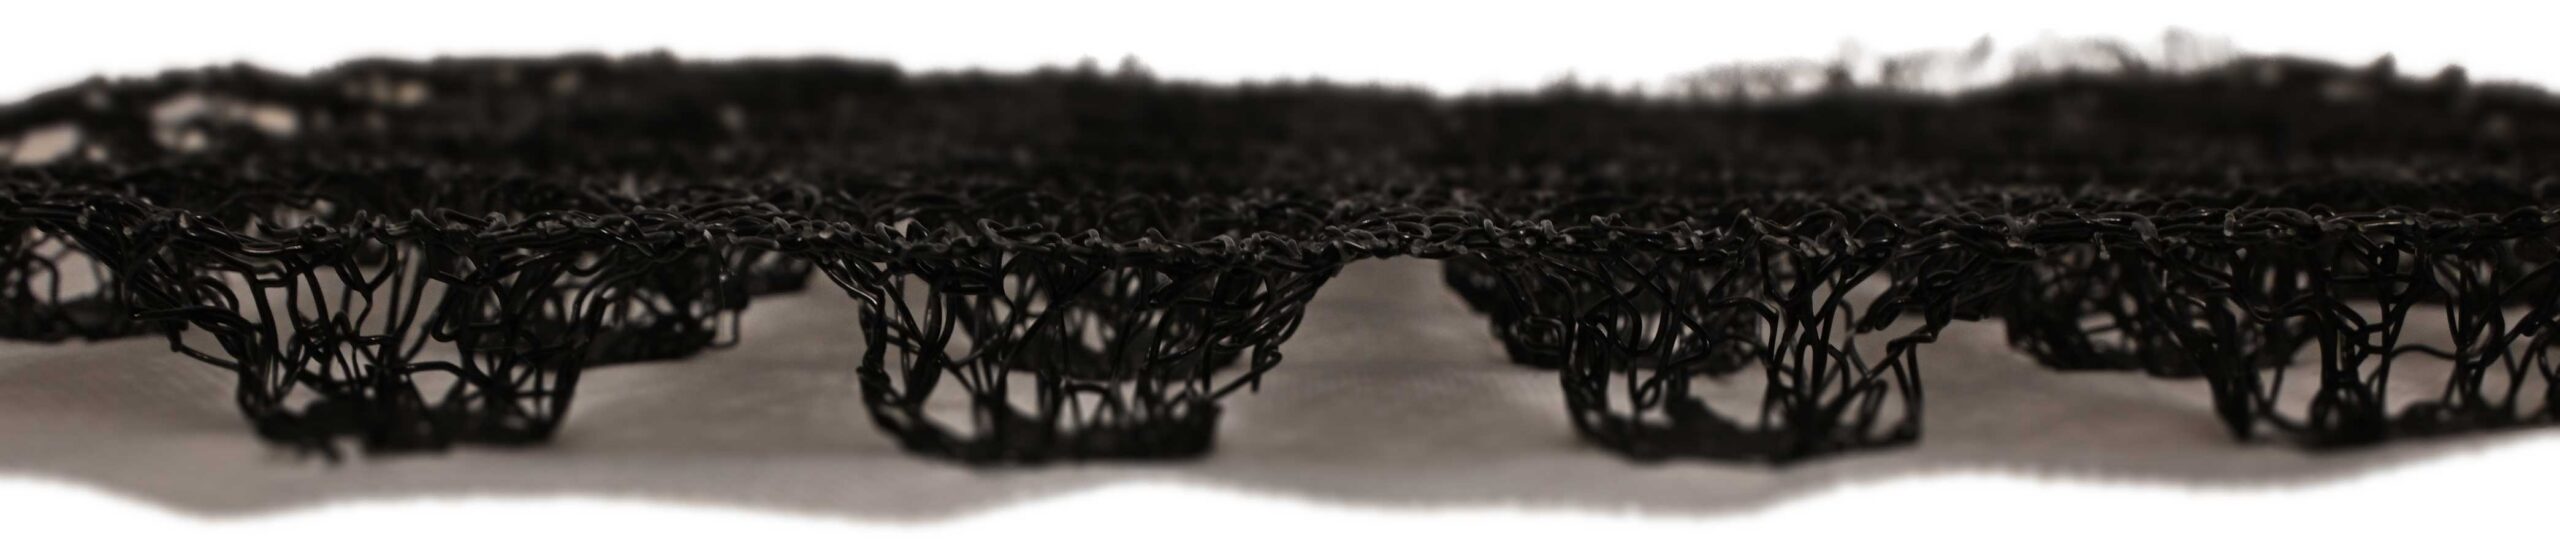


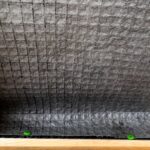


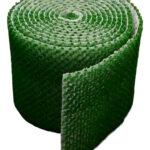
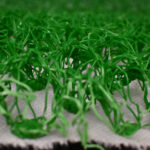


Insulair® creates a continuous 90% open air space between the roof deck and the spray foam insulation or between the roof deck and batt or spray foam in cathedral ceiling applications. Insulair® dries and vents the air preventing deterioration to the wood sheathing from condensation moisture common in these applications. Insulair® is applied to the interior side of the roof assemblies in residential and light commercial construction. The product has an open filament waffle core designed with filter fabric on the interior side to assure a clear vented path free of insulation intrusion. Insulair® is made with polymers that are stable and do not deteriorate when in contact with moisture.
US Patent # 12,345,437
Recommended Applications
• For new construction with spray foam insulation under the roof deck.
• For retrofit of existing attic & roof deck with spray foam insulation.
• For new construction or renovation of cathedral ceiling systems.
Benefits
• Promotes drying in the roof assembly.
• Easy to install.
• Able to withstand extreme temperatures.
• Recycled content for LEED points.
• Cuts with a utility knife or scissors.
• Creates a continuous vent from soffit to ridge.
For Insulair® LEED Sheet - Call 800-252-2306

Recommendations
Choose the proper size of Insulair® for your application. The Insulair®14.5” is recommended for rafters spaced at 16” O.C. The Insulair® 22.5” is recommended for rafters spaced at 24” O.C.
Step 1
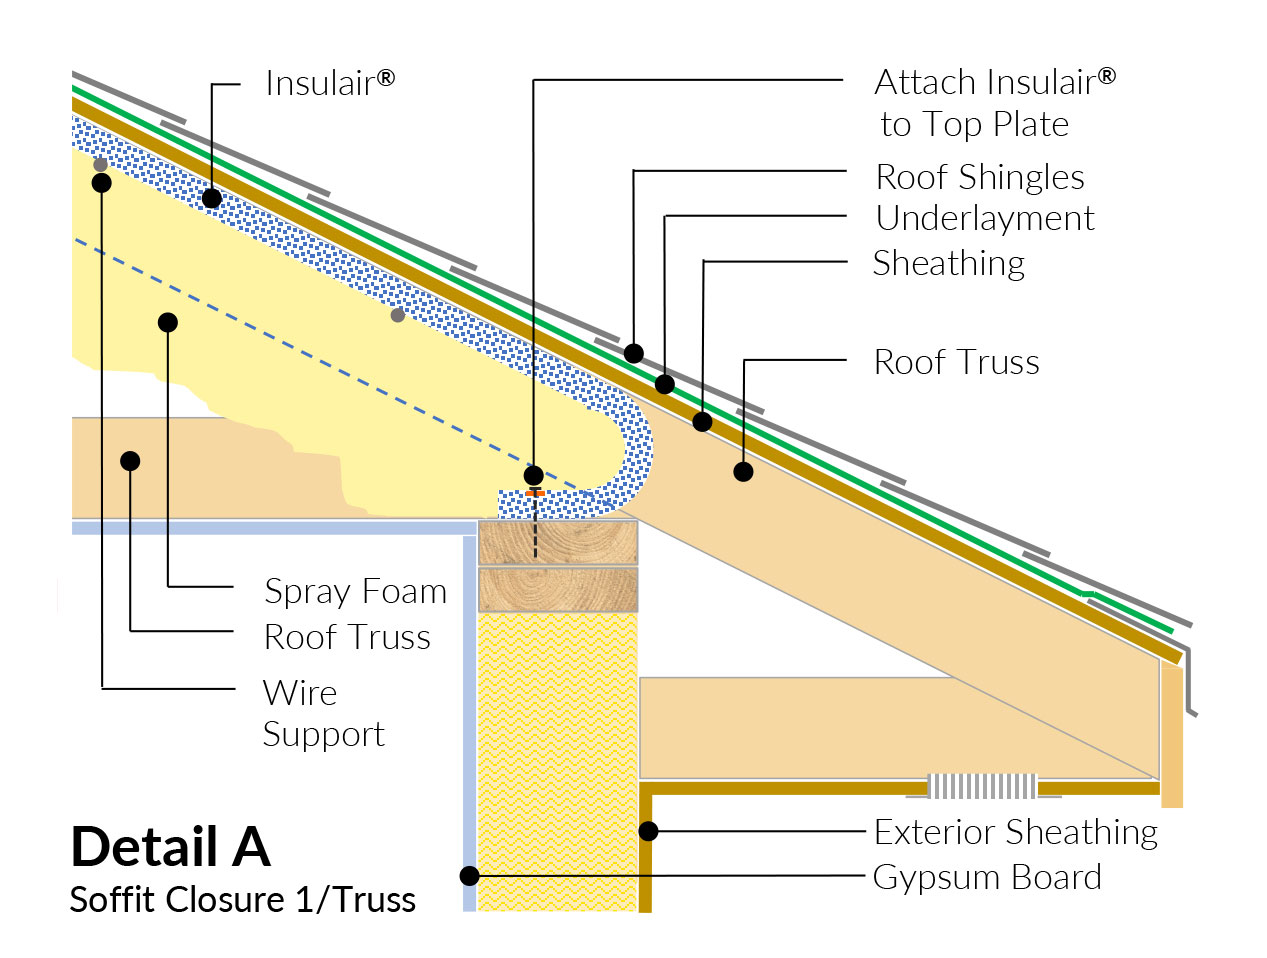
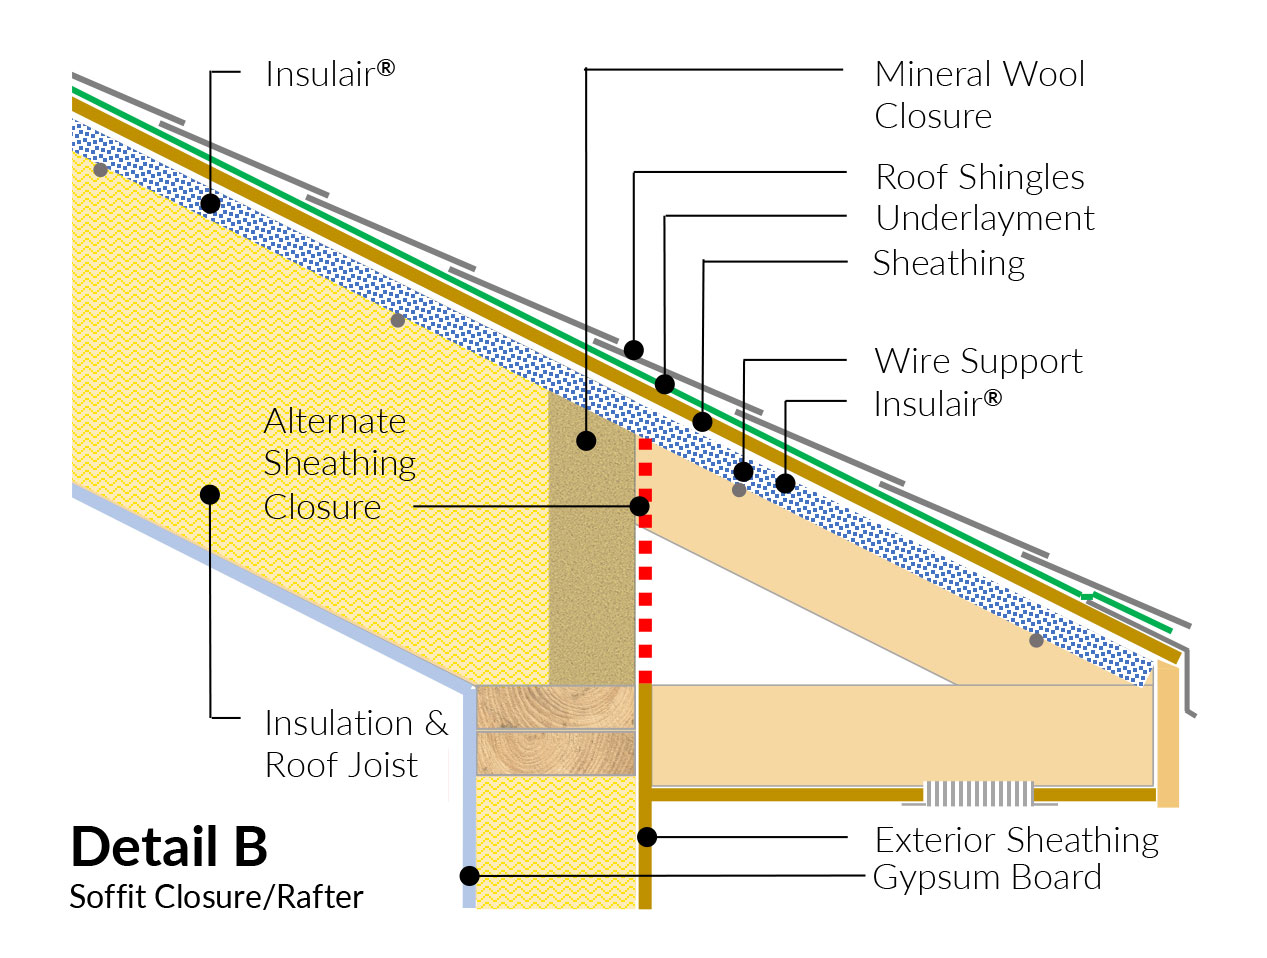
Attach Insulair® to the roof plate near the soffit with the filter fabric facing toward the interior and the entangled filament against the roof deck. Run it up the underside of the roof deck and bend it into a “U” at the roof plate to create an end dam that supports foam adhesion, maintains airflow, and reduces wind washing. To prevent foam from blowing between each course of Insulair® attach an additional layer of blocking fabric, or insulation blocking.
Alternatively, you can minimize wind washing by blocking off the area between the roof plate and underside of the roof deck at soffit locations with either mineral wool, or by extending the wall sheathing.
Step 2
Unroll Insulair® from the eaves up towards the ridge. Place the support wires approximately 12” apart below the Insulair® fabric with a friction fit created between the two roof rafters. This will keep the Insulair® snug to the underside of the roof deck.
Alternatively, you can mechanically fasten Insulair®; however, take precaution that the staple or nail length will not penetrate entirely through the roof deck.
Step 3
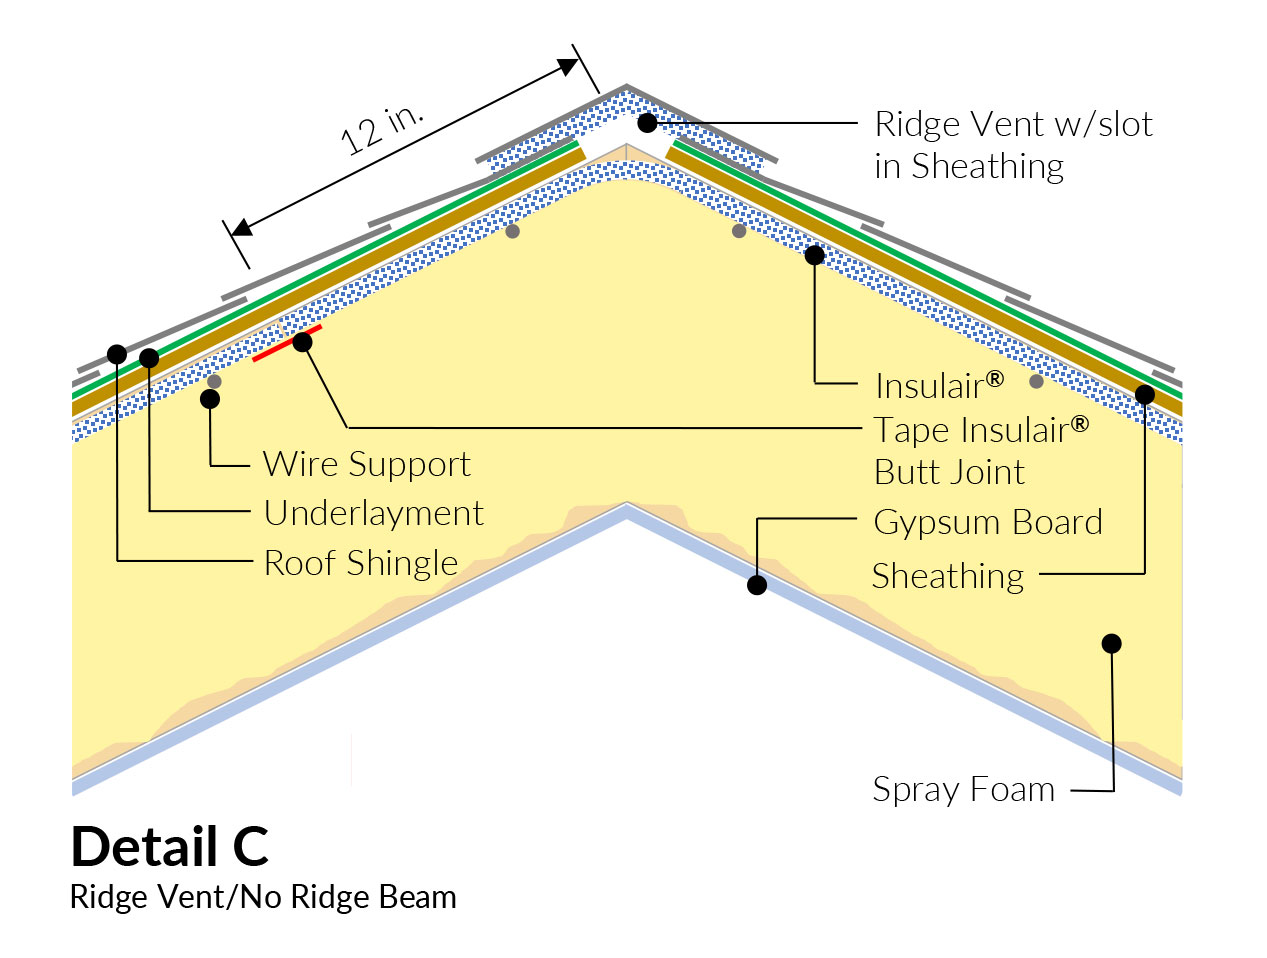
Run Insulair® against the underside of the ridge location and down the other side of the roof deck for a continuous installation.
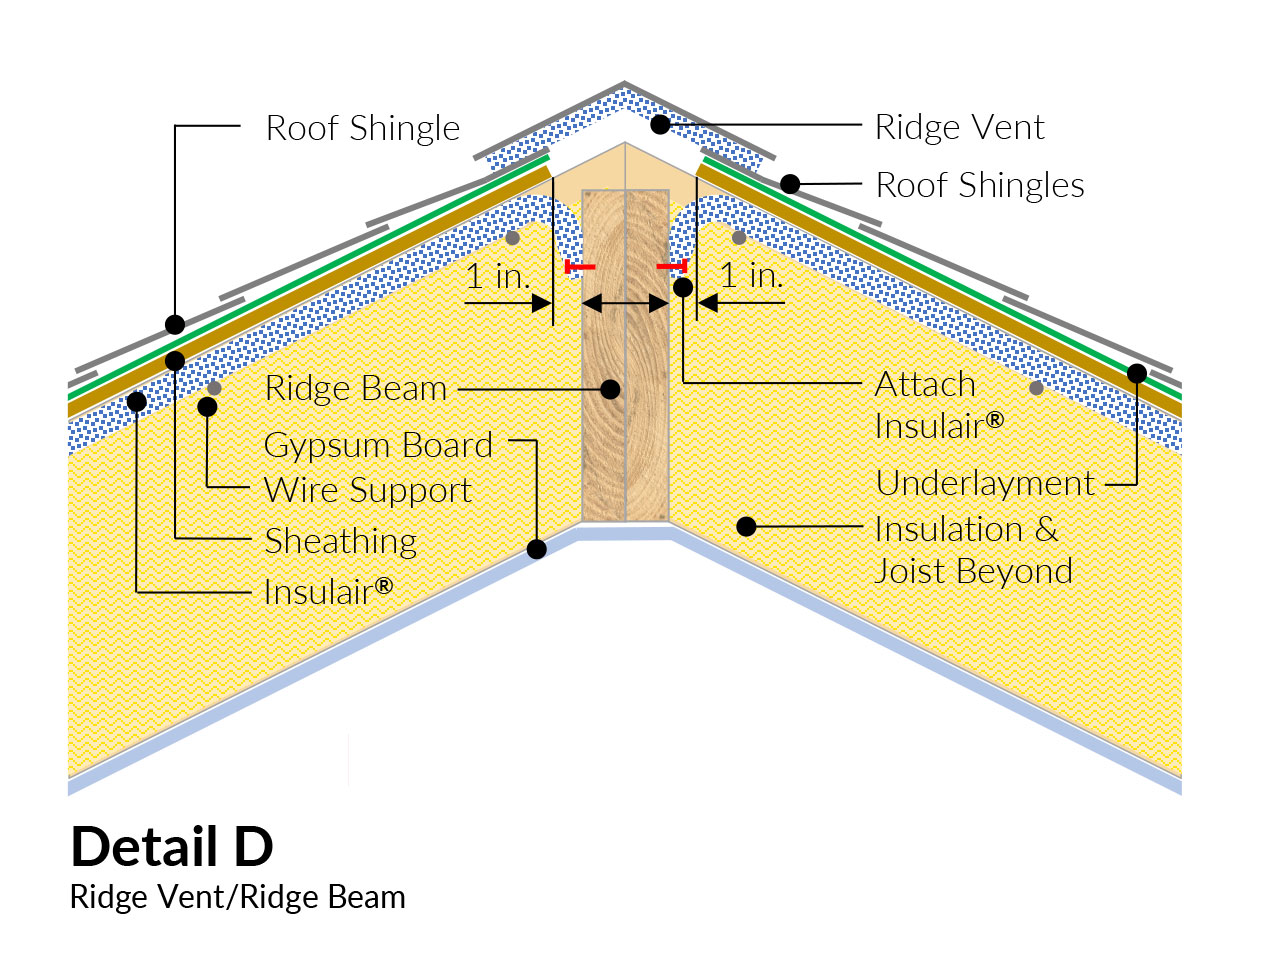
When a ridge beam is present, fold the Insulair® so it runs down the ridge board a few inches and attach with staples or nails. Again, be sure the fabric is facing outward to avoid spray foam from being able to get into the ventilation space created by Insulair® at the ridge vent location.
Additional Considerations
In any condition that requires an end-to-end butt joint of the Insulair® material, tape the joint for all spray foam applications. Tape with flashing tape or duct tape to prevent spray foam intrusion that would block the ventilation space.
Brochures & Articles
Renderings
- Insulair® at Soffit Location
- Insulair® Complete Roof System
- Insulair® Install Detail A – Soffit Closure 1/Truss
- Insulair® Install Detail B – Soffit Closure/Rafter
- Insulair® Install Detail C – Ridge Vent/No Ridge Beam
- Insulair® Install Detail D – Ridge Vent/Ridge Beam
- Insulair® Install Detail E – Ridge Vent/Ridge Beam